
Using a Phi3 Model with Semantic Kernel in C#
Actually, there’s a lot of people talking about AI, which help us to build more powerful and innovative solutions.
Ollama allows us to run and test models locally using our machines, without the need to create a subscription in a provider.
In this post will walk through the steps to setup the Phi3 Model and create a very simple app using Semantic Kernel.
What I need?
- Ollama
- Your favorite Terminal
- Your favorite Code Editor(VSS/Rider/VSCode/VIM for example)
- Dedicated GPU (Recommended)
Installing Ollama and Phi3
To install Ollama, you can download it from their site or using the following command:
winget install Ollama.Ollama
At the end of the installation, it will start the Ollama service, I recommend that restart tour terminal after the installation.
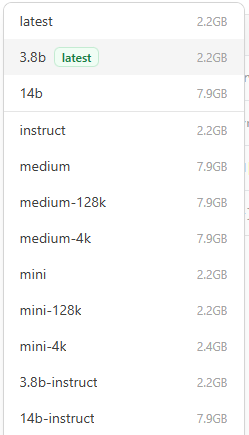
For this post we will use the model PHi3, we have some tags from “variants” of the Phi3 model that we can install, for this post we gone to install a SLM Phi3:mini, in trhis case, is a model that is trained with 3.8b of parameters.
You can go to the landing page of the model to know more details about it.
Previous Considerations;
Please consider that the size of the model that we see in the Ollama page, is only the size that the model will use in our disk, but also it could be the amount of RAM memory installed on our system that also can use.
For instance Phi3-Mini uses 2.2 gb of space, but it will requires up to 3.3gb of memory, please consider this before run a SLM in your machine.
Also, the team behind of Ollama recommends in their docs, that your system has a dedicated Graphics Card(or if you have a Mac, one compatible with Metal), you can find the GPUs that are compatible in this Link.
Pulling the SLM
To pull the model from Ollama you can just type in a terminal the following command:
ollama pull phi3:miniWith this command, Ollama will download and install the SLM in your machine.

Some Ollama commands
If we want to see which models you have on your machine, you can type;
ollama list
To run a model:
ollama run <MODEL>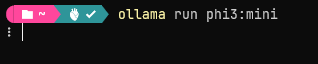
It will take a little bit to load the model on memory, but when you see a prompt you can start typing to see responses:

To exit from the prompt, onle need to typew: /bye
ollama psThis command will give us some information about the model that is running, for example the name, the id or memoery size that is using
on our system.

Using Semantic Kernel
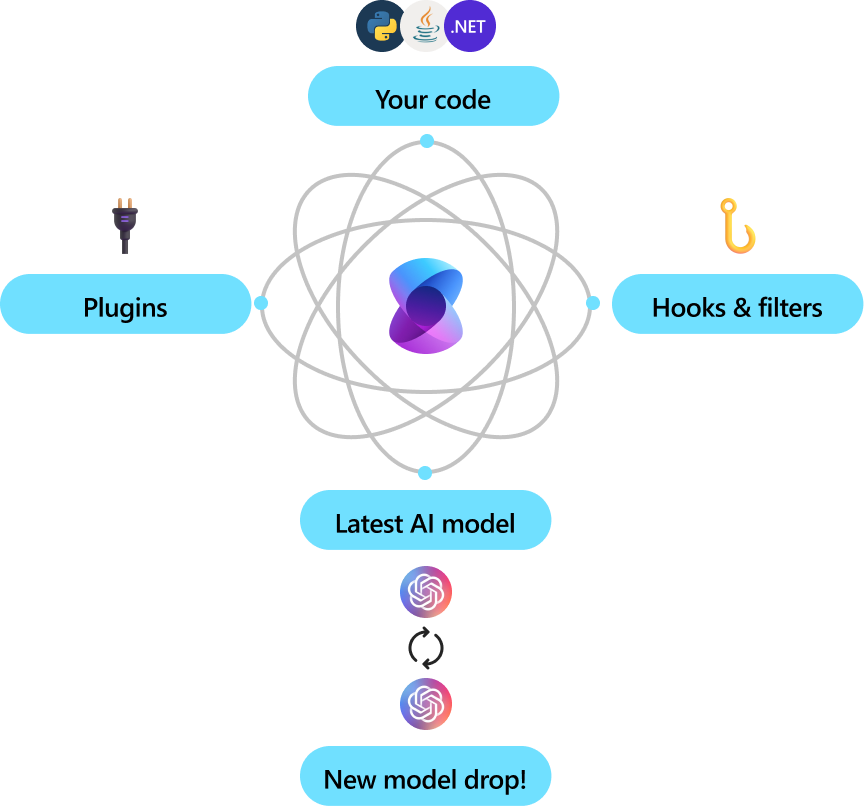
Semantic Kernel is an open source sdk that allow us to interact with AI models using C#, Python or Java, in this post, we going to use C# for the examples.
The library by itself is very extensible, so we can build powerful applications around it and integrate the very latest AI models in our code.
Let’s create something cool!
In this post we going to create something very simple, in a future posts I hope that we can see something more complicated around Semantic Kernel.
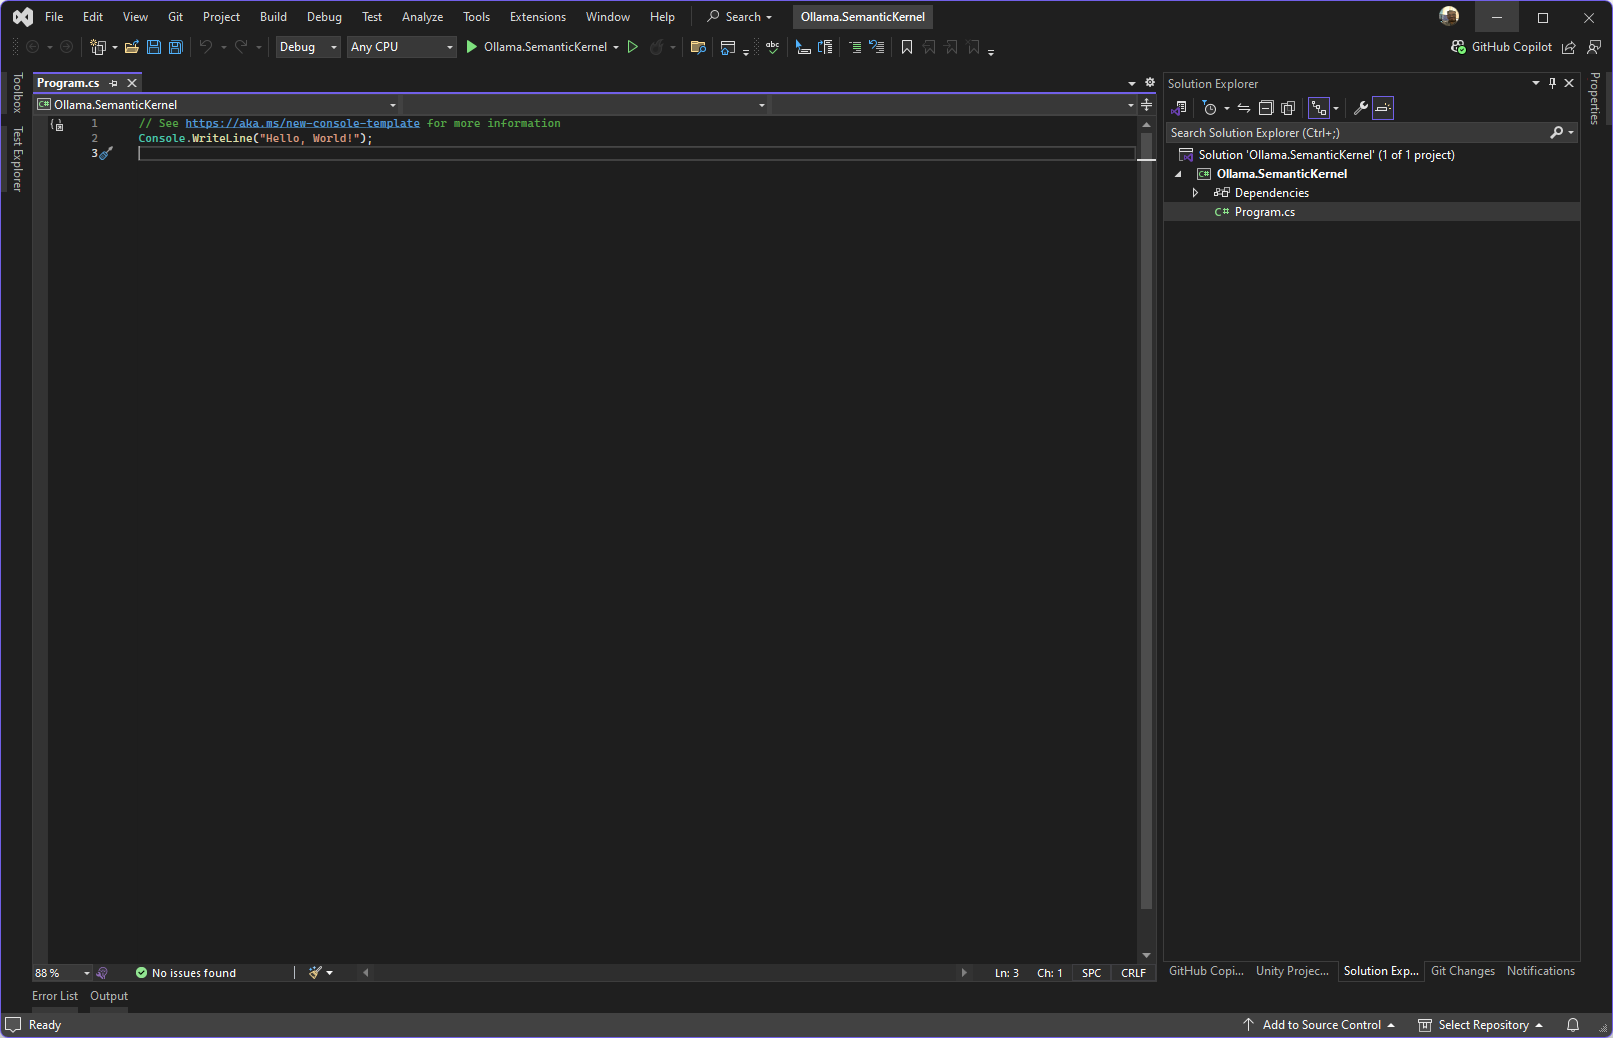
We need to create a console App, you can use Dotnet CLI or directly in Visual Studio or Rider, you can name your project as you want, the important part is when we add the connection to the SLM.
dotnet new console -n Ollama.SemanticKernel -o .Fire up your IDE and open your project, and open the file called Program.cs, we will type our code on it.
 We gone need to install the Nuget from SemanticKernel and Ollama Connector (pre release), you can do this in Visual Studio/Rider or in Terminal
dotnet add package Microsoft.SemanticKernel --version 1.22.0
dotnet add package Microsoft.SemanticKernel.Connectors.Ollama --version 1.22.0-alpha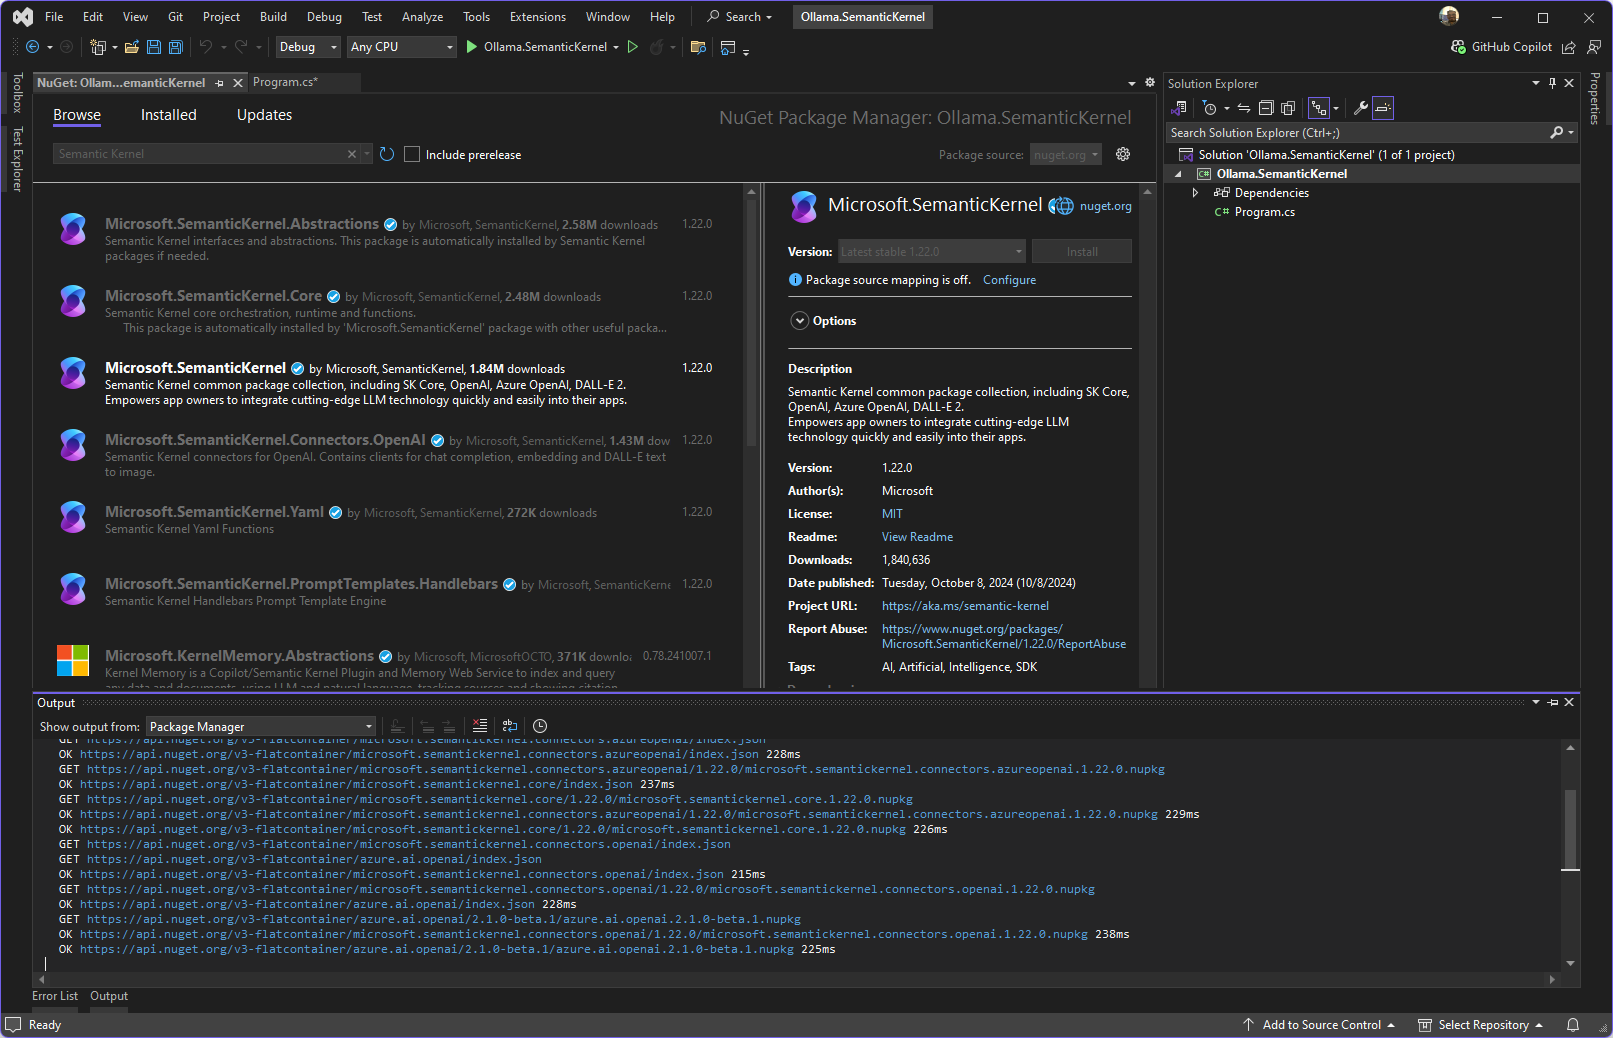
In previous versions of Semantic Kernel, we can connect using OpenAi connectors to Ollama Models, in newer versions we need the proper connector, in that case, Microsoft created the Ollama connector, since some of the endpoints changed.
NOTE: You may have some errors when you invoke some functions, don’t worry, you are using code from a prerelease package, you need to supress the warnings with right click with the contextual actions and supress each of them or globally.
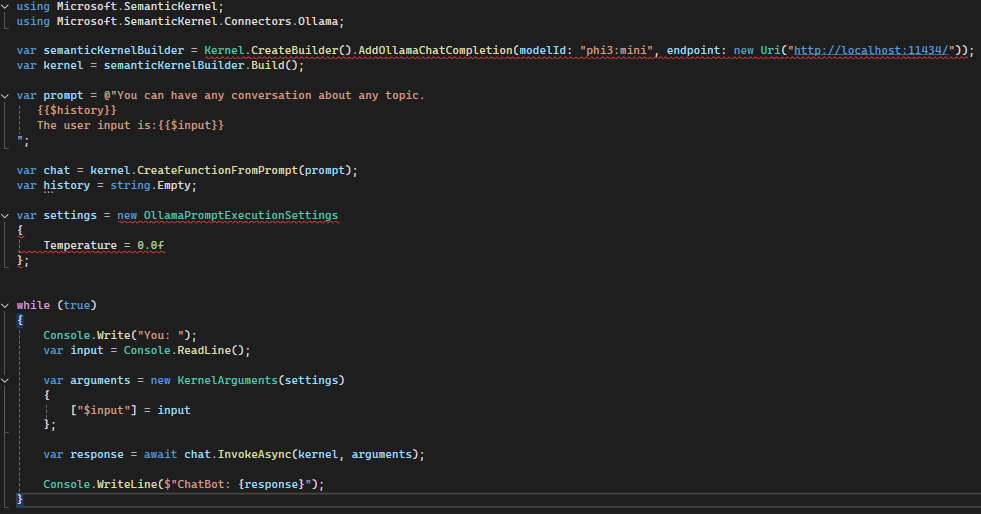
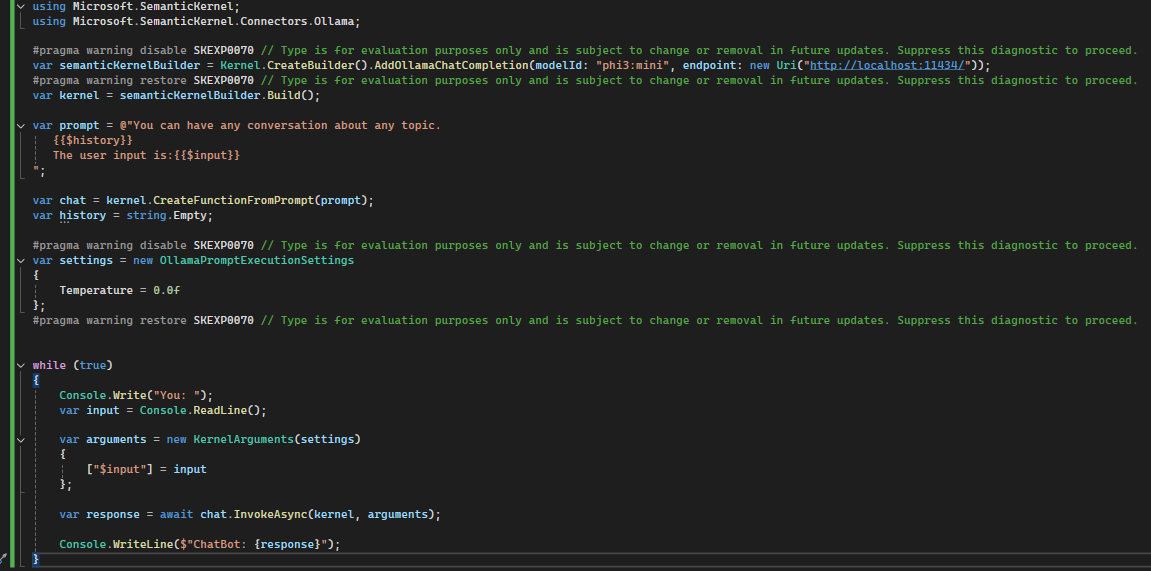
First of all, you need to ensure that your SLM is running with ollama run phi3:mini, the default endpoint for Ollama is: http://localhost:11434/.
In this case we gonne need to initialize the Kernel with this lines:
var semanticKernelBuilder = Kernel.CreateBuilder().AddOllamaChatCompletion(modelId: "phi3:mini", endpoint: new Uri("http://localhost:11434/"));
var kernel = semanticKernelBuilder.Build();

var prompt = @"You can have any conversation about any topic.
   {{$history}}
   The user input is:{{$input}}
";

var chat = kernel.CreateFunctionFromPrompt(prompt);
var settings = new OllamaPromptExecutionSettings
{
    Temperature = 0.0f
};
Basically, we tell to Semantic Kernel to connect to our Ollama and tell the model how to behave, also we set the Temperature, but, what is the Temperature? The temperature is a parameter that evaluates the creativity of the model, it controls the level of randomness that a model can have when it generate text, this means that a higher temperature value increases the probability of chaotic or dillusional results, otherwise, lower temperature values you gone to obtain more predictable results, the ideal is to find an ideal value.
After this, we need to create a Chat with our model, for this example I set a very low temperature.
while (true)
{
    Console.Write("You: ");
    var input = Console.ReadLine();

    var arguments = new KernelArguments(settings)
    {
        ["$input"] = input
    };

    var response = await chat.InvokeAsync(kernel, arguments);

    Console.WriteLine($"ChatBot: {response}");
}
With this final code we going to read a line in the console and send again another message until we close the app.
At the end, we see the basic usage of Semantic Kernel to connect to a SLM, I hope that in future posts we can see more advance concepts. If you want the source code of the example, go to my GitHub: https://github.com/tavobarrientos/ollama-semantic

Author
Gustavo Barrientos
Azure AI Certified Engineer | 15+ yrs in full-stack, cloud & AI architecture | Building intelligent, production-ready systems with .NET & LLMs