Creating a simple chatbot with Promptflow
Recently in December, I was invited to participate in the Microsoft Innovation Challenge 2024 Hackathon by the team of Código Facilito, It was an amazing experience, given me the opportunity to meet a lot of developers from several countries of LATAM also, I learn a lot of new things using the AI Services that Azure offers to us.
PromptFlow is a very powerful tool that allows us to streamline the development cycle of a LLM-based application, it helps us to create production-ready LLM apps very fast.
What I need?
- Azure Subscription
- Azure Resources:
- Azure AI Search
- Azure AI Foundry
What is PromptFlow?
PromptFlow is a development tool designed to enchance the entire development process of AI applications that uses Large Language Models (LLMs). It provides an all in one solution that makes easiere to prototype, test, refine and deploy AI applications efficiently.
We can use PromptFlow as VSCode Extension or with its own SDK or use it directly in Azure AI Foundry or Azure ML Studio.
Creating a Flow
For this post, Im going to use Azure AI Foundry, first of all you need to create a project, in the modal that you going to see, you can click on Customize to edit your project Settings.
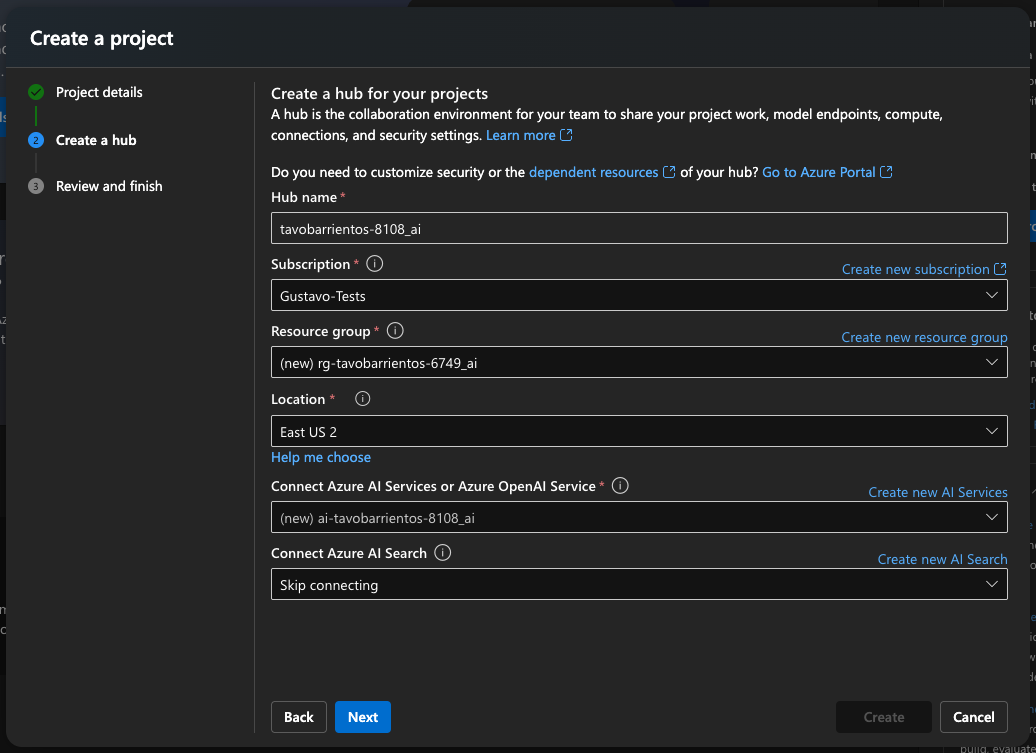
If you edit your default settings, you must set your Hub Name, your suscription, resource group, location, for this post I will leave it as East US 2, now It will give us the option to create a new Azure AI service, I leave it as new for default, but if you already have a Azure AI service, you can use it without any problem.
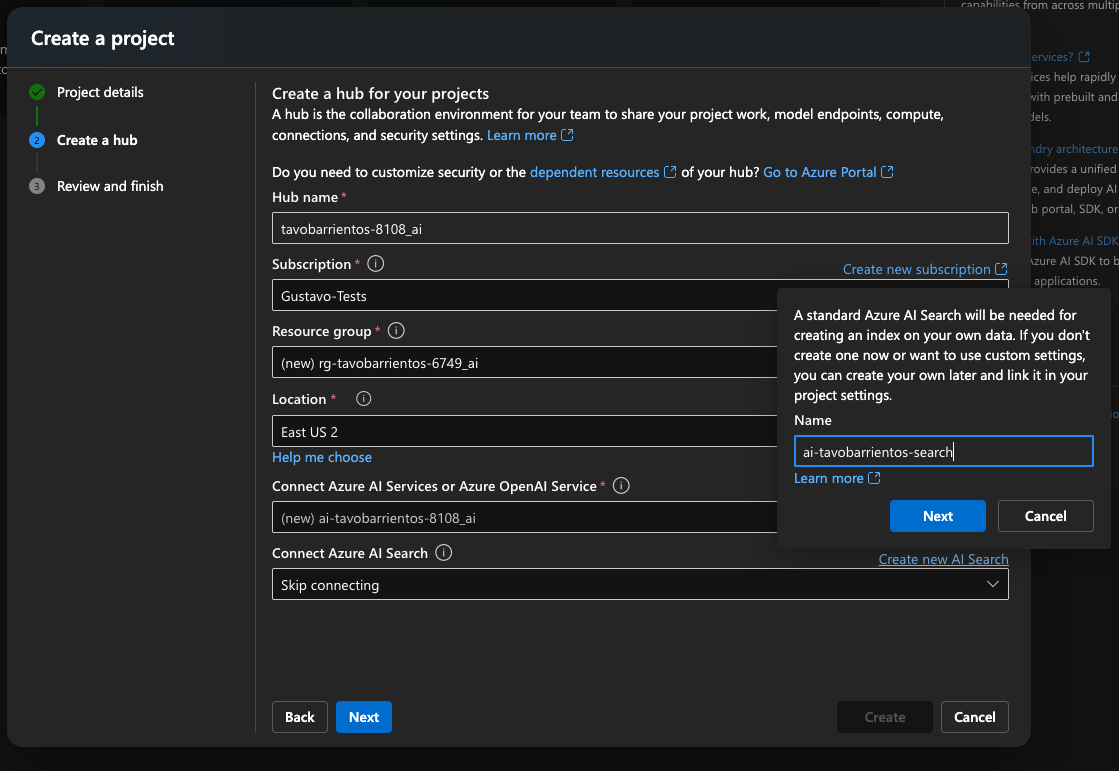
At the end we have the option to add an Azure AI Search service, this will give us the option to start indexing our data, just click on Create new AI Search link and assign a new name.
Now click on Next, review your resources and click on Create button, it will take a while, so don’t be afraid :)
Azure AI Foundry Project
In the main screen of Azure AI Foundry project you will see a lof of options, for example, you have the Overview of your project, see the model catalog, which includes a lot of LLMs like gpt4.5-preview, DeepSeek-R1, event some SLM like the recent Phi4 model.
Also, theres another section in which we can deploy Agents, Fine Tune models and the one that is in our interest, PromptFlow.
Creating our first Flow.
Go to PromptFlow option, you will see all of your flow that you have in your AI project, if you dont have one, you can click on Create.
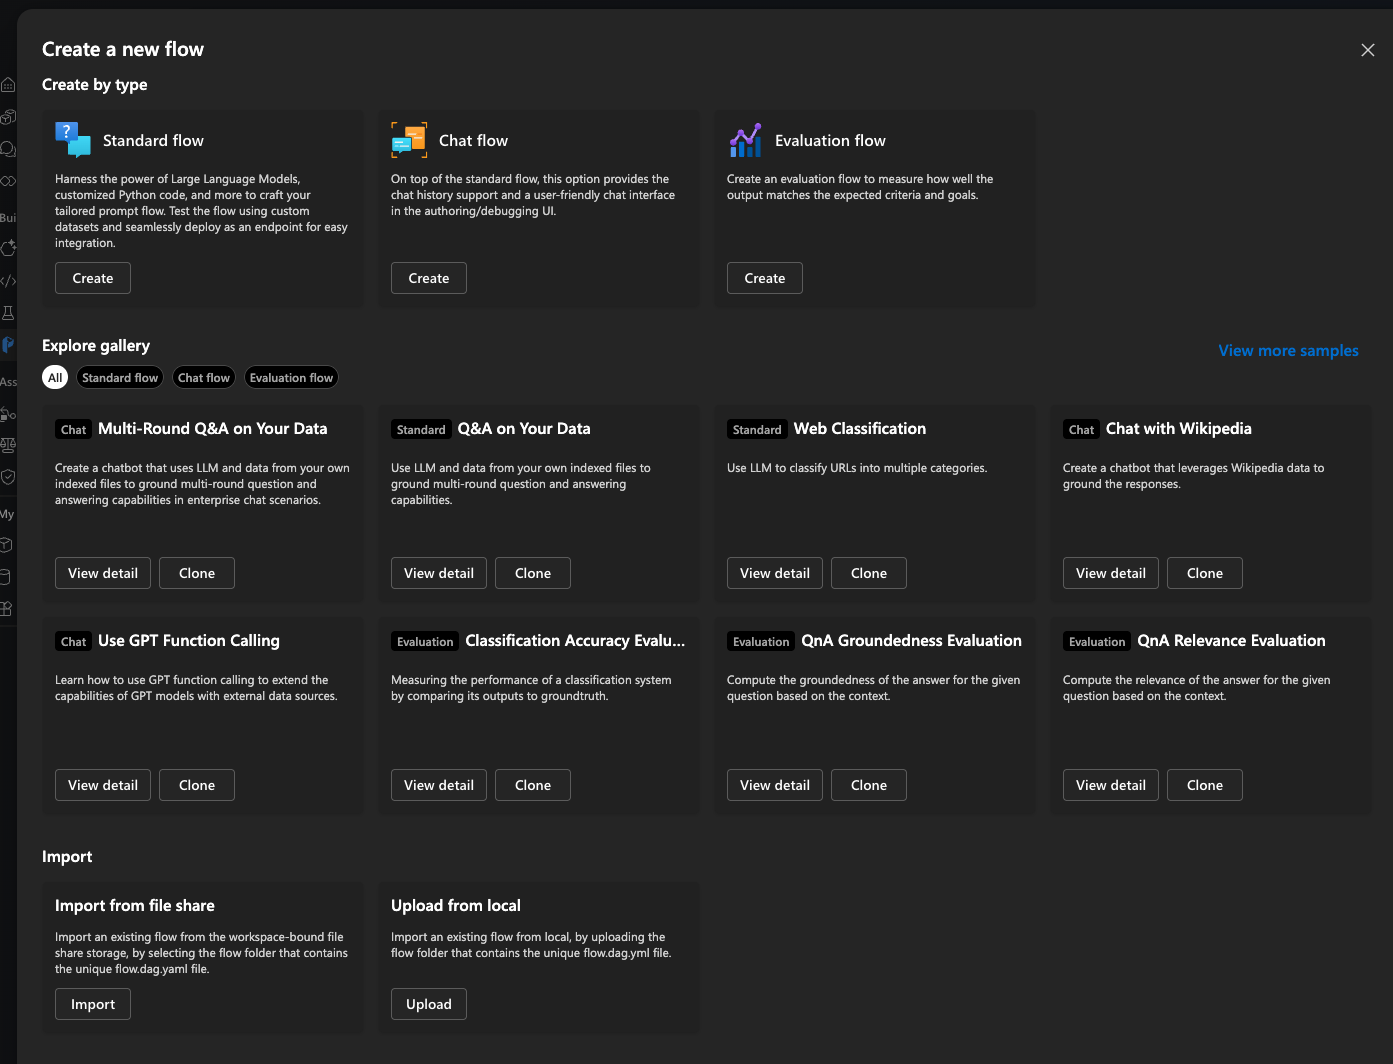
We will have 3 different options, Standard, Chat and Evaluation, aso we can import from our local environment or though a file share our flows, im going to create for this tutorial a Standard Flow, click on Create in the option and assign a name.
Now, Azure AI Foundry will show us a screen like this:
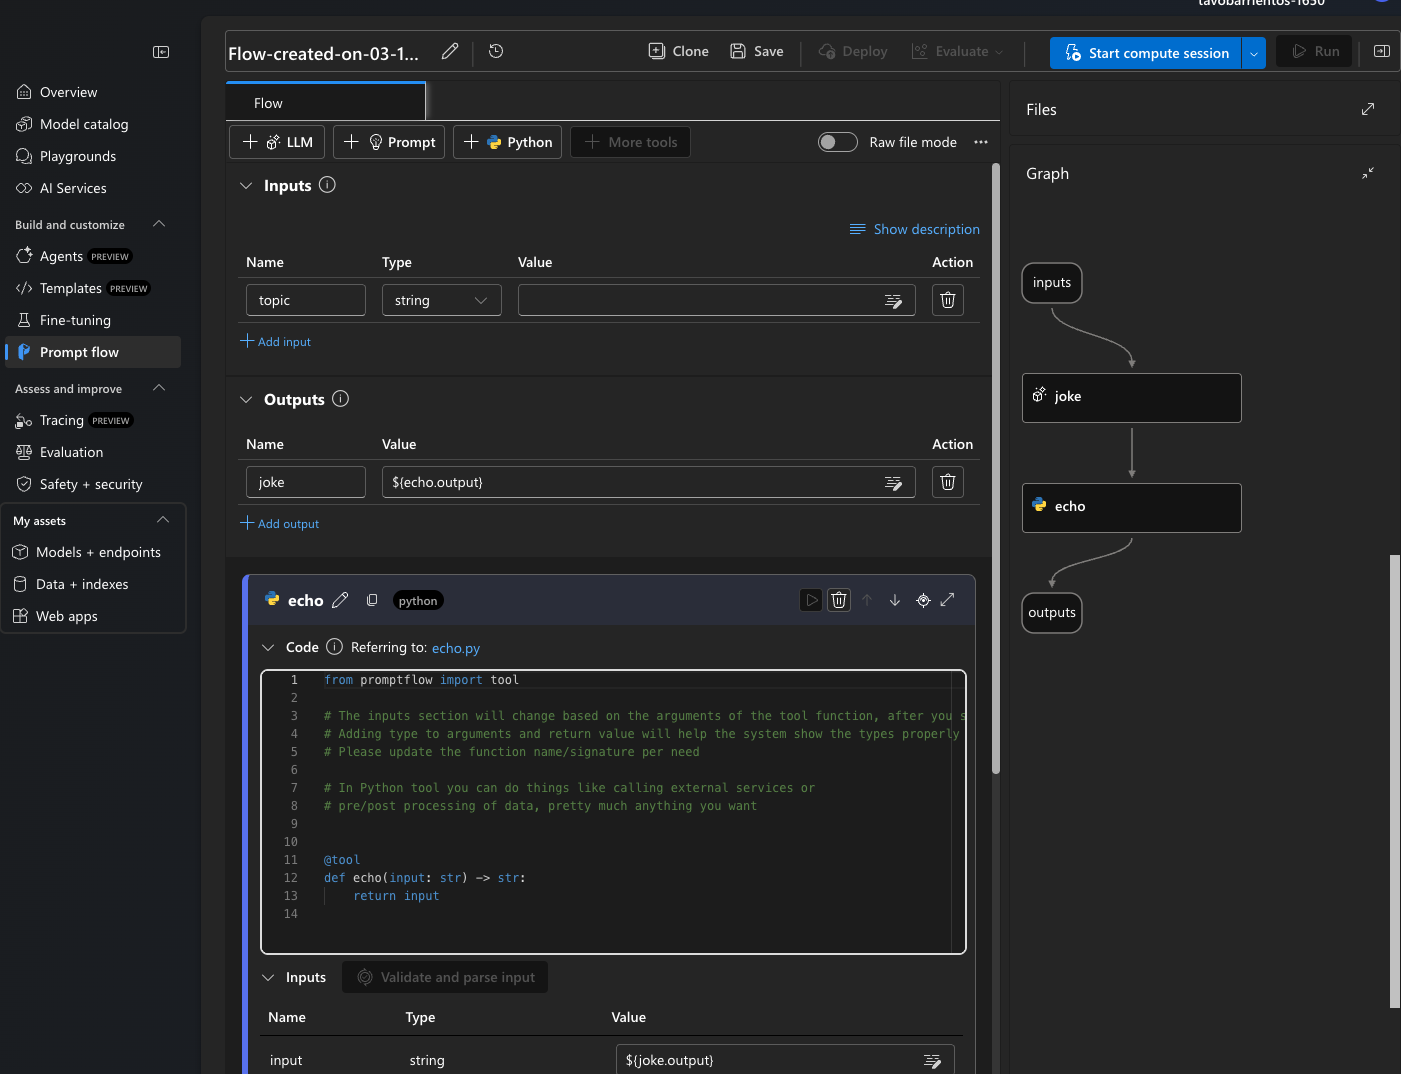
Basically is a screen that will show us the input that our flow will have, code blocks and outputs, at the right of the screen you will see a graph, which is a graphical representation of the flow of our application.
Adding an LLM
At this point we cant make anything with our flow, first of all, we need a LLM deployed, we can click con the left menu and select Models + endpoints option.
Click on the blue button Deploy Model if you dont have any LLM, it will give us the option Deploy Base model or Deploy fine-tuned model, in the case that we already have a fine tuned model, we can select it.
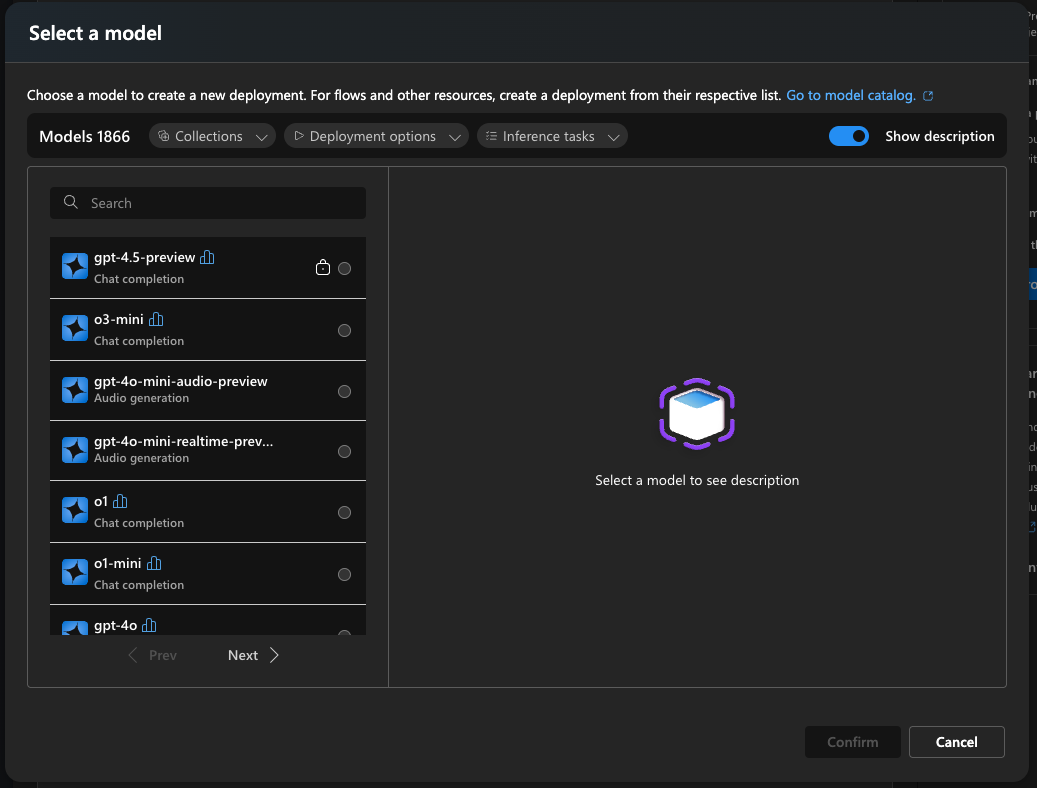
Now we need to select our LLM, in this case im going to search for gpt-35-turbo, in the next screen you need to select the name of the deployment, deployment type and you can customize the options of the deployment.
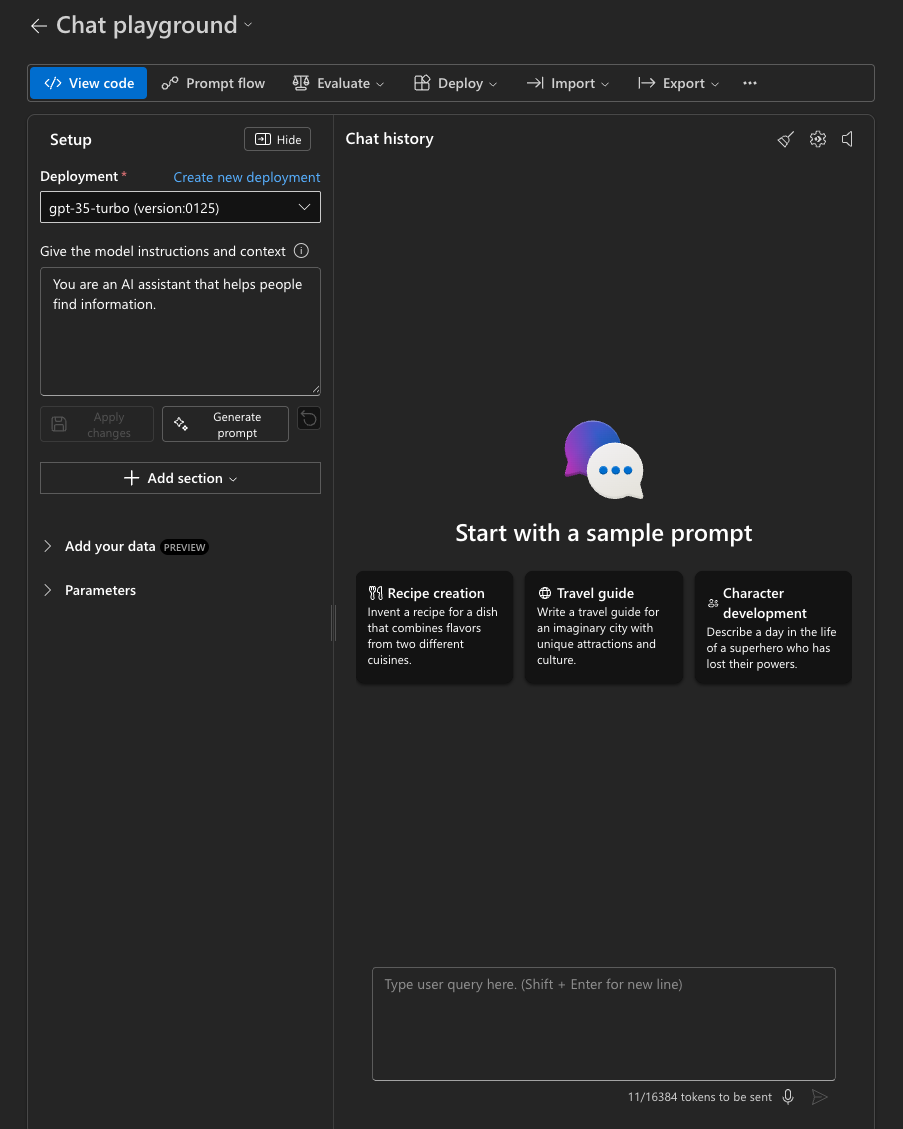
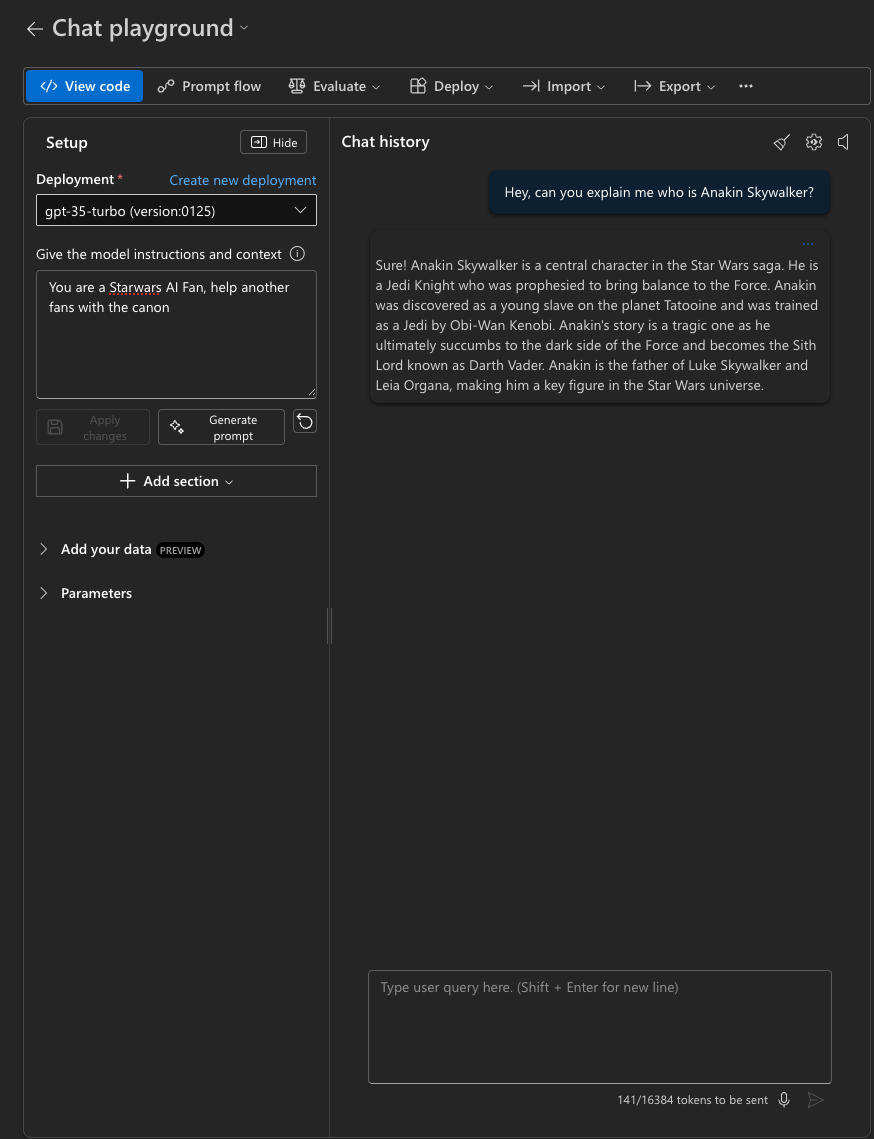
In the final screen you can click on Open in Playground and test the model, in this case, im going to makea very quick test. Im going to give the model the context “You are a Starwars AI Fan, help another fans with the canon” and click con Apply Changes.
After this quick test, we can create from here a Promtflow, we already have one, so we going to continue with it.
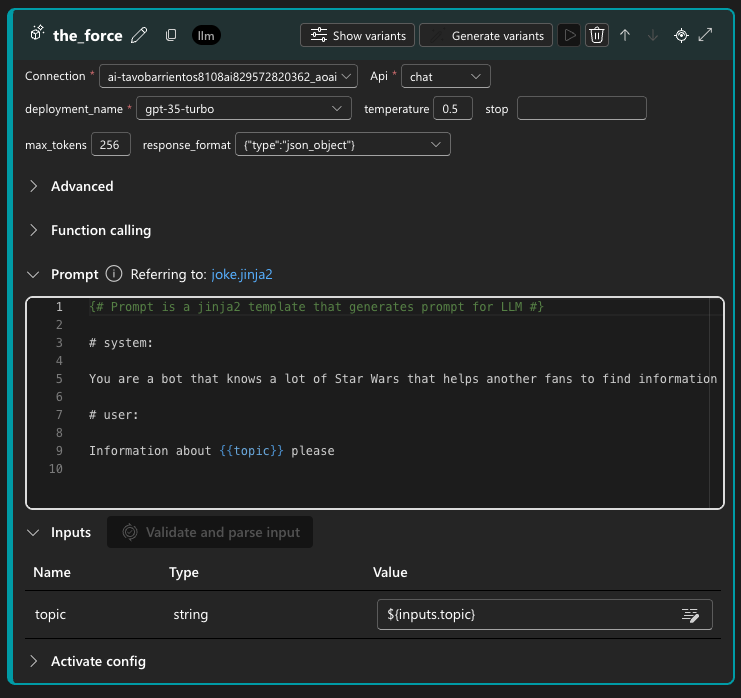
Now click on the LLM node, which the name is “joke”, for the sake of this tutorial, I’m going to rename it, we will create a Starwars AI Assistant!, In this screen also wer can select the Deployment of the model that we created previously, the temperature of the model, tokens amount and response format.
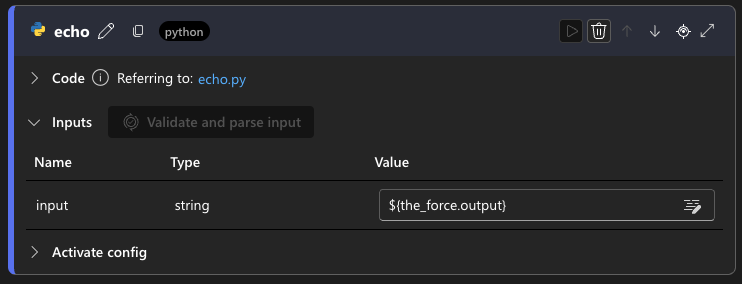
Also we gone need to edit the echo python script to reference the outputs of the LLM as the input of the script.
To be honest, AI Foundry gives us a very simple Flow structure which is a very basic Hello World, but is useful.
Testing the Flow
To test the flow we need to start a compute session, basically AI Foundry assign us a VM in which we can start our flow, click on the Start compute session, it will take around 30 seconds or so to boot, so be patient.

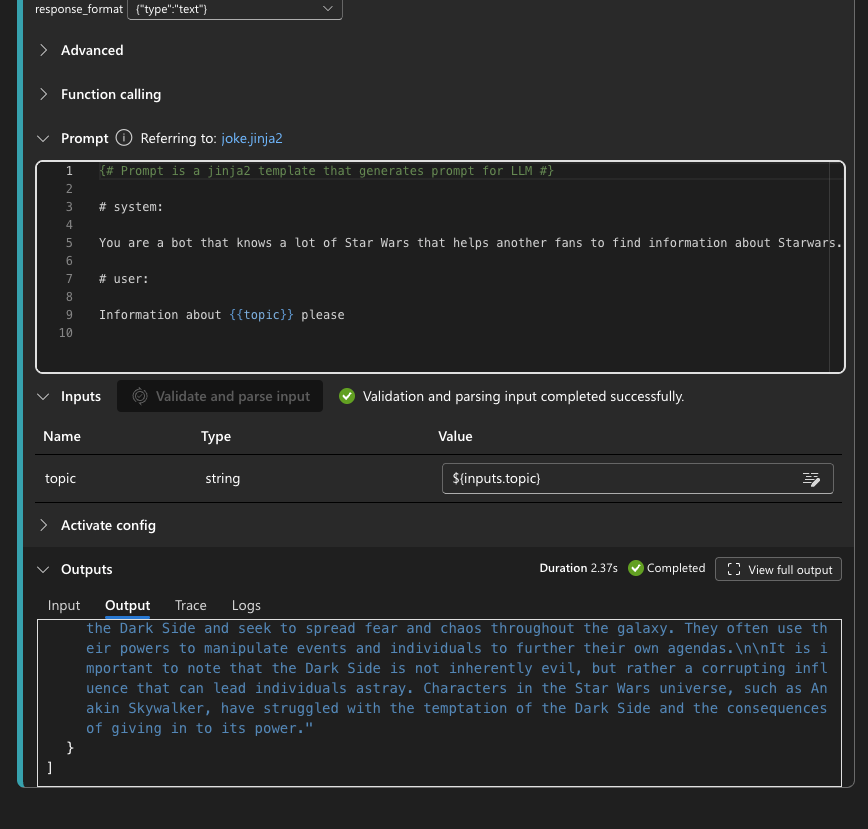
Once you have the computed session started, you need to set an input, click on inputs in the graph and type “Explain me the Dark side of the force”
Now click on Run and you will see a spiner in each of the nodes, that tells us that is running, untill we see the nodes in green that is completed.
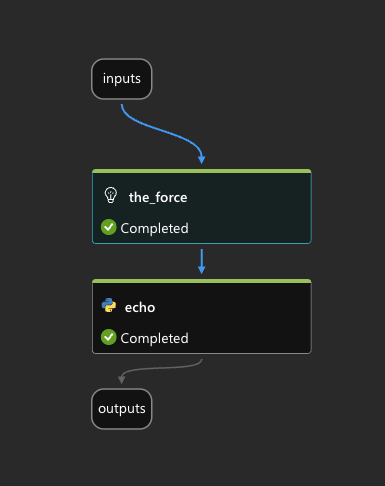
Now each of the blocks have a new section called “Outputs”, this section will display the output of each block, for instance, the LLM output is a json.
End of part 1
This post give us a very light introduction to the use of Promptflow, Im preparing the part 2, in where Im going to cover more topics on the usage of Promptflow.

Author
Gustavo Barrientos
Azure AI Certified Engineer | 15+ yrs in full-stack, cloud & AI architecture | Building intelligent, production-ready systems with .NET & LLMs